
Create this fun, summer-inspired DIY Melted Ice Cream Cone Jewelry Dish with modeling clay and a small ceramic dish!
I scream, you scream, we all scream for an ice cream…..jewelry dish!
I don’t know about you, but I used to leave my jewelry, especially my rings, just floating around on my nightstand or dresser. Thankfully all of my pieces have been safe, but to keep it that way and make sure everything was organized, I knew I needed to create a jewelry dish for my prized jewelry items!
Since it’s summertime, I thought what better way to keep your jewelry organized than with an ice cream-inspired jewelry dish!
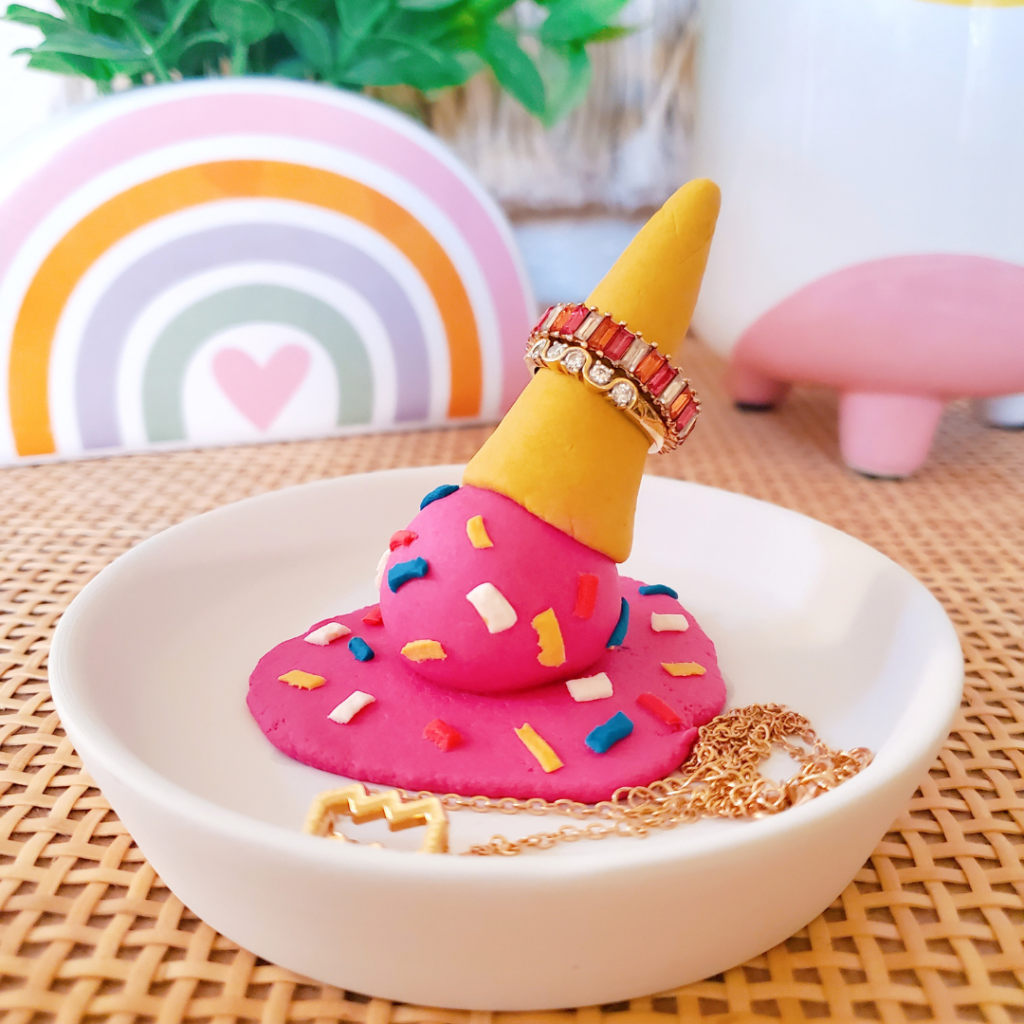
This DIY Melted Ice Cream Cone Jewelry Dish is deliciously sweet and the perfect way to display your jewelry for the summer! Using some modeling clay, this jewelry dish is easy to create. Plus, you can get creative with whatever colors you choose and even recreate your favorite ice cream! My favorite part? You can stack your rings onto the cone! Too cute, right?!

With this jewelry dish, you’ll definitely be looking like an ice queen this summer!
Read on below to learn how to make your own DIY Melted Ice Cream Cone Jewelry Dish!
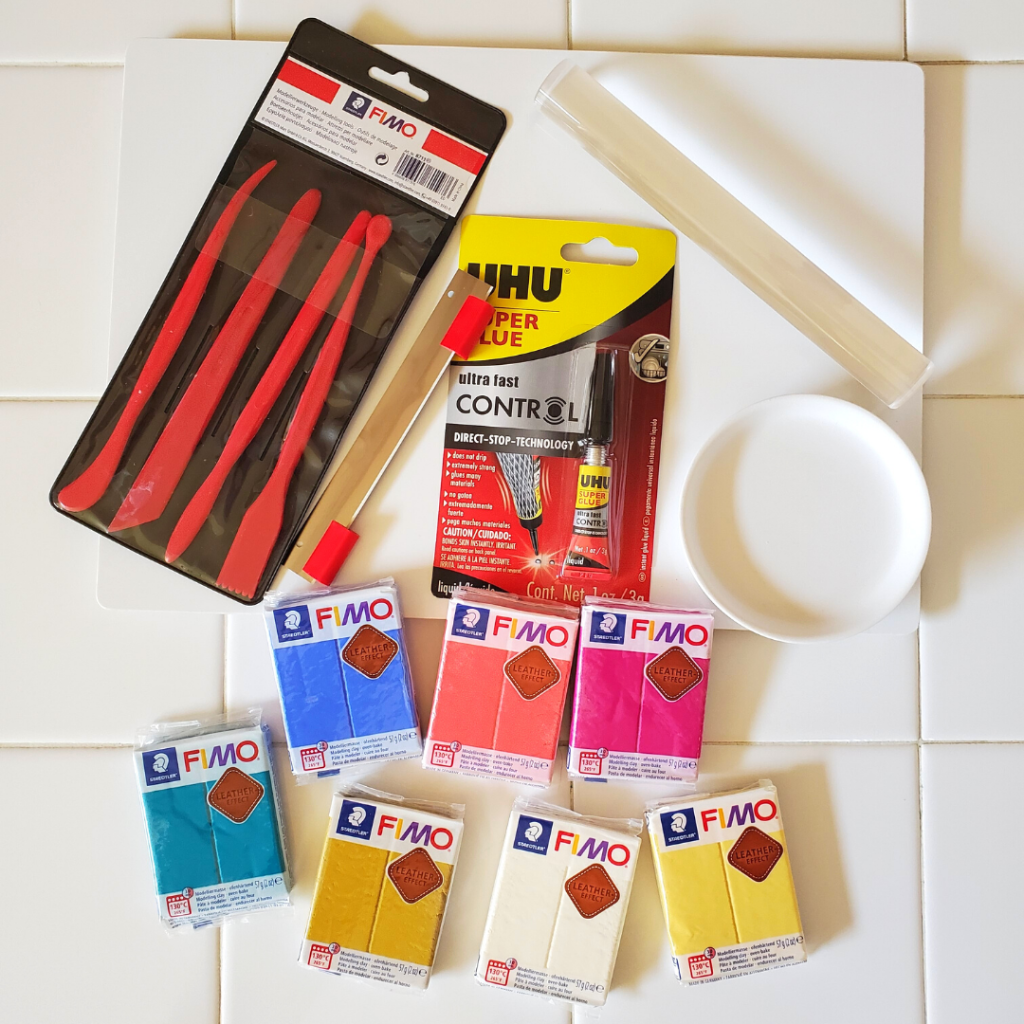
Here’s What You’ll Need:
• Modeling clay in various colors
• Modeling clay tools to shape and cut clay
• Rolling pin for your clay
• Flat surface to roll out clay
• Jewelry dish
• Glue
Here’s How to Make Your Own DIY Melted Ice Cream Cone Jewelry Dish:
Start by gathering all of your modeling clay. Get creative with the colors you use, or be inspired by your favorite ice cream flavor! I chose to have my melted ice cream be pink. To get the color you’d like, you can always mix together the modeling clay. To get this pink shade, I mixed the magenta modeling clay with some white.
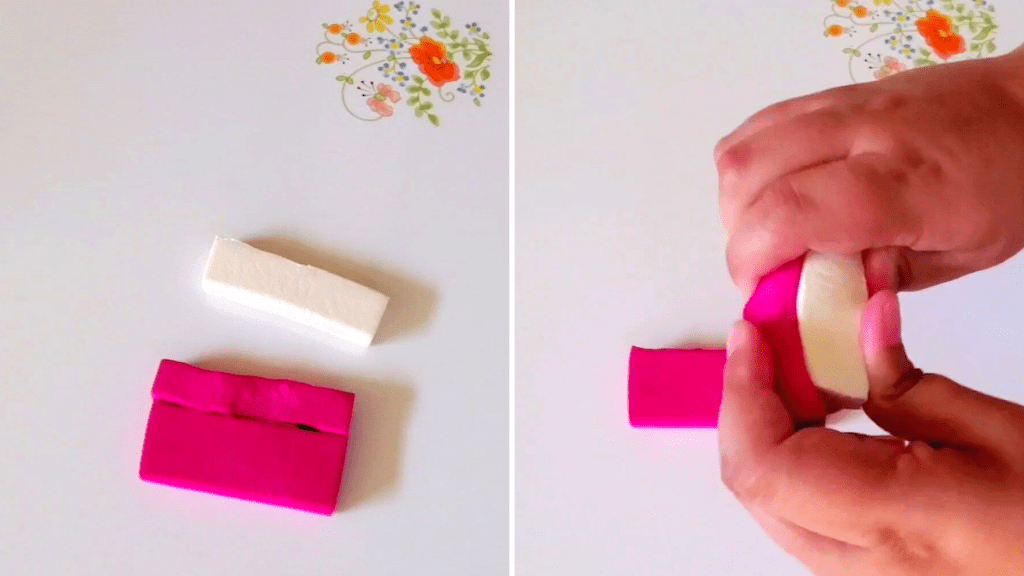
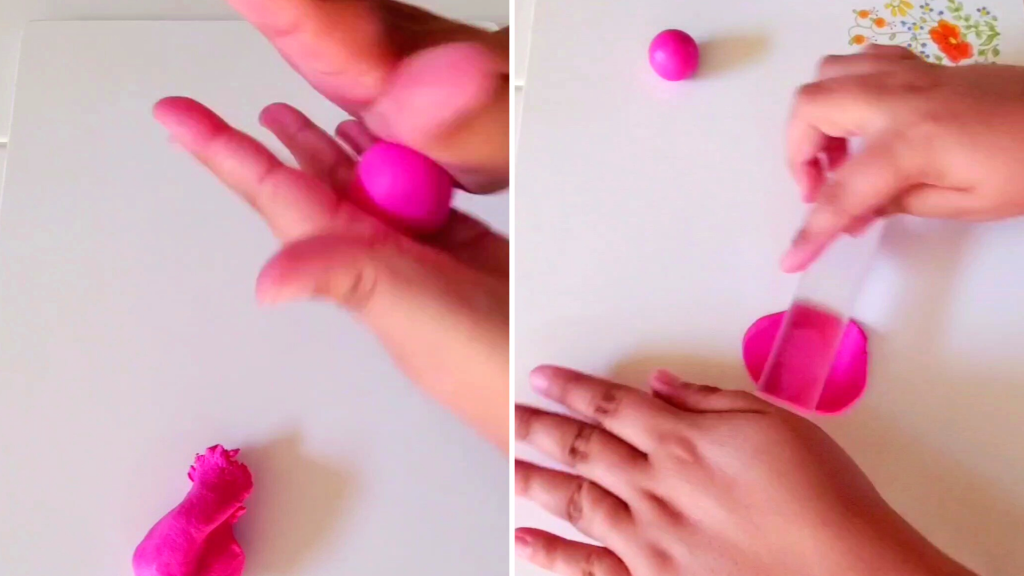
Once you have your ice cream color made, tear a small chunk of the clay off and roll it into a ball for the unmelted ice cream scoop.
Then, take another chunk of the clay and gently roll it out with a rolling pin for your clay. This will be the melted scoop that lies in the jewelry dish.
After both pieces are made, place the ice cream scoop onto the melted one and gently push the scoop into the melted one so they have adhered to each other. Set them aside until it is time to harden them in the oven.
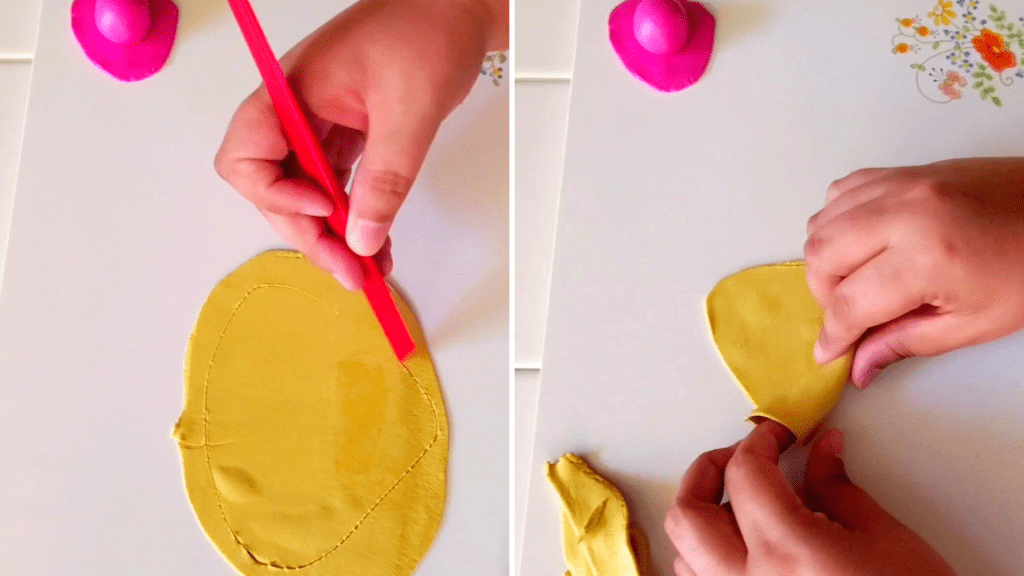
Now, it’s time to create the cone! Again, to create the right color for my cone, I mixed two colors-a mustard yellow and white-to get a creamy color. Once the colors were blended, I rolled the ball of clay out on a flat surface with my rolling pin to about 1/4″.

To get the cone shape, take your clay cutting tool and make a fan-like shape, with one end being wide and rounded and the other a rounded point. Remove the excess clay and, grabbing one end, slowly roll the cone together. Press the edges together at the end to seal the cone and cut any excess clay off the opening of the cone. Continue to gently roll and press the cone until you are satisfied with its shape.
With the cone created, gently place it on top of the ice cream scoop at an angle. Gingerly press the cone into the scoop so they have adhered to each other.
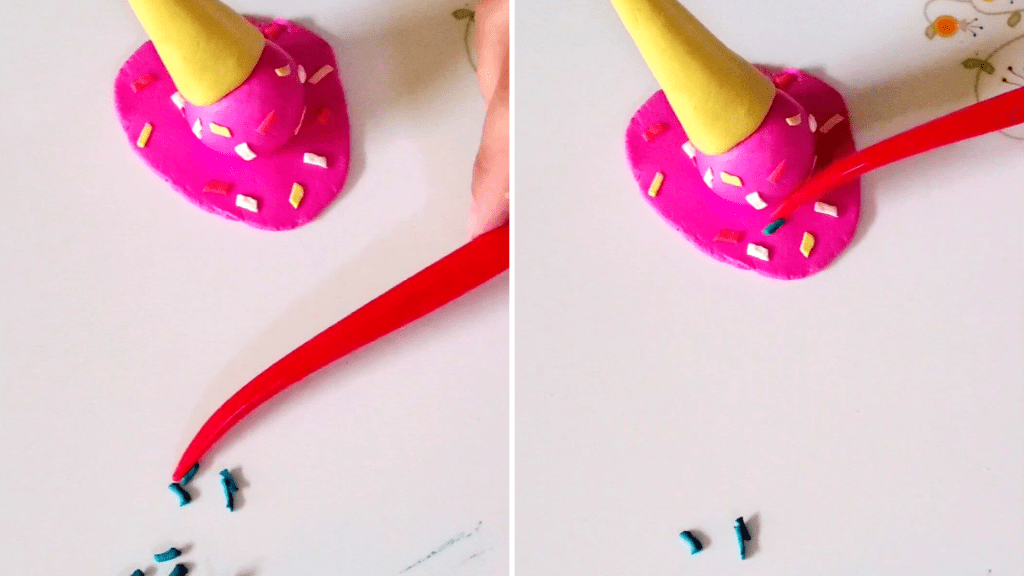
To finish the ice cream cone, I thought it would be fun to add some sprinkles! Plus, the sprinkles would give the ice cream cone a bright pop of color. But you can add any topping you’d like! If you’re doing a chocolate chip ice cream, you could make mini chocolate chips instead. Just get creative with it!

I rolled out small pieces of different colors of modeling clay and cut a small strip from the rolled-out clay. Then, cut each strip into smaller pieces to create sprinkles. With your modeling tools, gently pick up your sprinkles and press them around the scoop and melted ice cream base.
Once the melted ice cream cone is ready, carefully place it onto a baking sheet and bake it the oven according to your modeling clay brand’s instructions. For the FIMO clay I used, I baked it at 266°F for 30 minutes on the lower rack of the oven.
When the melted ice cream cone is done, remove it from the oven and let it cool completely.
After the melted ice cream cone is completely cooled, it’s time to glue it to your jewelry dish. You can use any small dish. I happened to find my small ceramic dish at Target. With a string crafting glue, apply glue to the bottom of the melted ice cream piece and firmly press the melted ice cream cone down onto the jewelry dish.
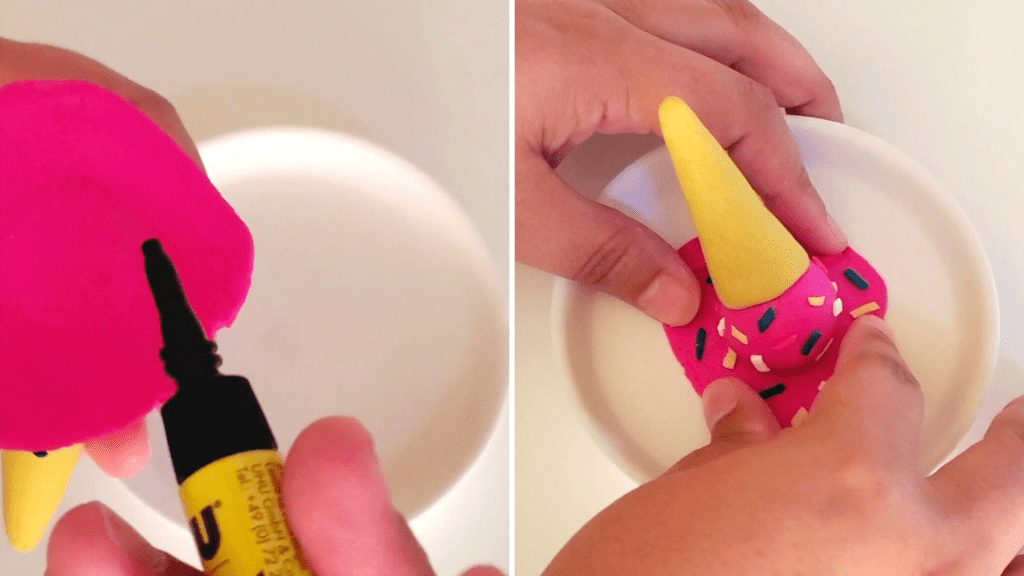
Allow the jewelry dish to dry completely before displaying your jewelry on it.
That’s it! Didn’t it turn out so cute?!

If you make your own DIY Melted Ice Cream Cone Jewelry Dish, make sure to take pictures and post them on social media using #wearecolorventurers so I can see!
As always, you can find the video tutorial for this DIY Melted Ice Cream Cone Jewelry Dish on my TikTok!
Before you go, make sure to save this post to your crafting Pinterest board! (You can find the Pinterest button at the bottom of this article.)
Have an ice cream cool summer!

This was a really clever idea!!! 🙂👍
LikeLike
Thank you so much! Glad you like it!
LikeLike