
With some embroidery floss and yarn, you can create this easy end-of-summer DIY Macrame Rainbow Keychain that will add a fun pop of color to any backpack or purse.
Summer may be coming to an end, but that’s doesn’t mean we can’t still bring a little color and sunshine to our day! With only a few weeks of summer left before we trade in those warmer temperatures for cooler ones, I’m trying to squeeze in as much fun as I can. So, I thought it would be fun to create a fun and cheery accessory to go all out for the end of summer.
This DIY Macrame Rainbow Keychain is the perfect craft to celebrate the end of summer. Only requiring a few simple supplies, this craft can be created in no-time and is so fun to wear for all of those final summer ‘fits. Talk about a fun POP of color!
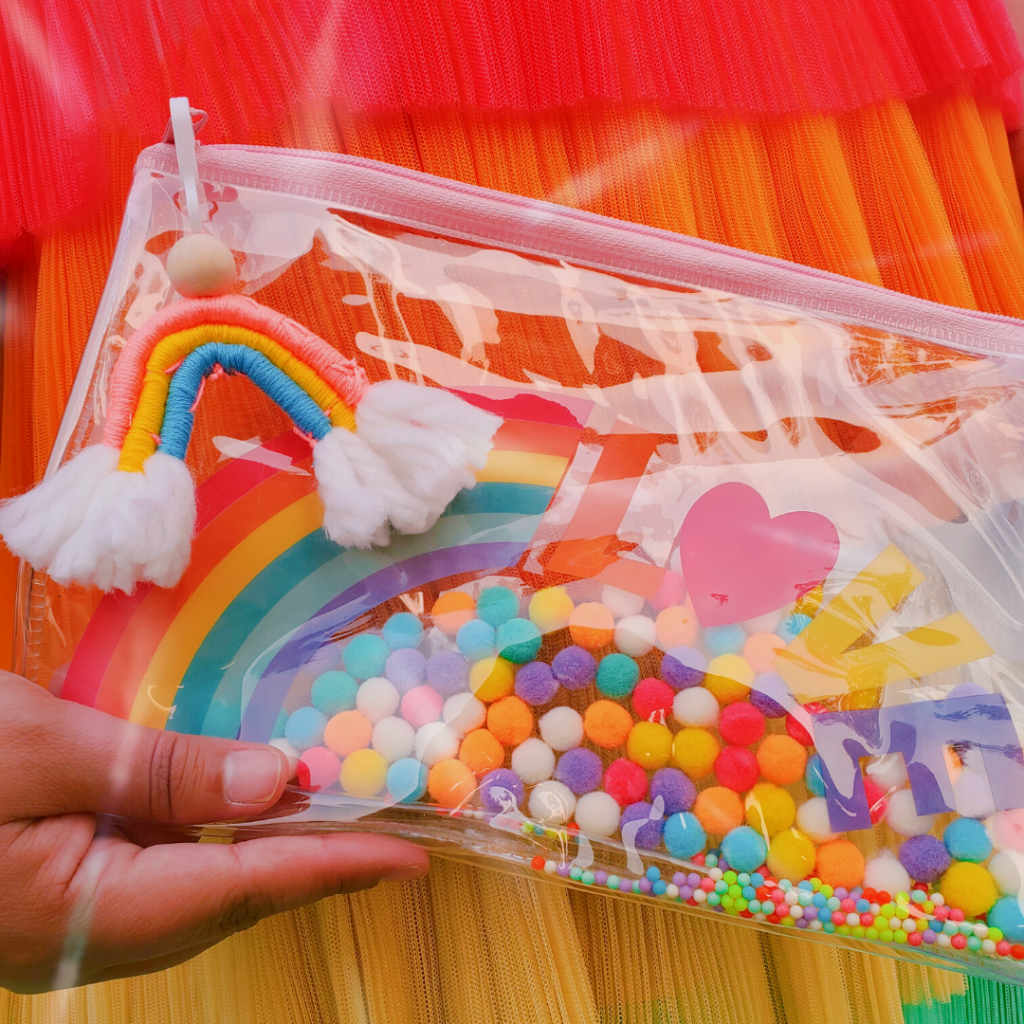
This adorable keychain definitely serves as a colorful reminder to soak in the last rays of sunshiny weather. Even after summer ends, this DIY Macrame Rainbow Keychain will still add a burst of color to any backpack or purse.
Read on below to learn how to make your own DIY Macrame Rainbow Keychain!
Here’s What You’ll Need:
- A colorful assortment of embroidery floss
- White yarn
- Scissors
- Measuring tape
- Wooden bead
- Lobster claw keychain
- Sewing/embroidery needle

Here’s How to Make Your Own DIY Macrame Rainbow Keychain
Start by cutting three strands of white yarn 6.5 inches long for the top row of your rainbow. Next, cut three strands of yarn 6 inches long for the middle row, and three strands of yarn 5 inches long for the bottom row.

Using the embroidery floss of your choice for the top row of your rainbow, make a knot at about 1.5 inches from one of the ends on all three of the 6.5-inch yarn strands. This will secure all of the strands of yarn together into one bundle. Wrap the embroidery floss around the bundle of yarn until you are left with another 1.5 inches at the other end. At this point, tie a knot with the embroidery floss to secure it and set the top row aside.

Repeat the same step for the 6-inch bundle of yarn for the middle of the rainbow, wrapping it with your second choice of embroidery floss and leaving 1.5 inches of yarn showing on either end. Also do this for the last row of the rainbow with your third embroidery floss color.

Set aside some embroidery floss to stitch together the rows of the rainbow, as well as the keychain.
Thread an embroidery or sewing needing with the embroidery floss and knot the end. Start by stitching two rows of the rainbow together using multiple stitches until the two are completely stitched together. Tie a knot at the end to keep the rainbow in place.

Using the needle and more embroidery floss, stitch the final row onto the other two and knot it at the end.

With the needle and the embroidery floss, stitch a loop through the top of the rainbow. Add the wooden bead for a decorative touch to the top of the rainbow and keychain to the loop and secure it with a knot.

Lastly, trim the ends of the rainbow and fluff up the yarn.
That’s it! Now you have your own fun DIY Macrame Rainbow Keychain!

If you make your own DIY Macrame Rainbow Keychain at home, make sure to share it on social media using #wearecolorventurers so I can see!
As always, you can find the video tutorial for this DIY Macrame Rainbow Keychain on my TikTok!
Before you go, make sure to save this craft to your Pinterest board! (You can find the Pinterest button at the bottom of this article.)
Hope this fun DIY Macrame Rainbow Keychain brightened your day!

What a fun idea! My daughter really liked it. Thanks for sharing. 🙂👍
LikeLike