
Give ’em pumpkin to talk about with this adorable DIY Halloween pillow!
Halloween is on its way, so it’s time to pull out all of our spooky season decor! Decorating for the holidays (whether it’s Halloween or any other special season) is so much fun to me. It’s the perfect opportunity to let your personality shine in your home while having some fun with the holiday! I personally love to have pumpkins and spooky (but not too scary, haha!) skulls galore and fun, and colorful garland. When preparing for our Halloween decor, my mom wanted to have some fun, new pillows to liven up the space (kind of opposite of what Halloween is about, am I right? Haha!) and came up with this incredible idea using some chair covers from Dollar Tree. And let me tell you that this craft is absolutely boo-tiful!
Here at The Colorventurer, the goal is to help you get creative to make your home and life as colorful and amazing as you are and I know this DIY Jack-O’-Lantern Pillow will look spooktacular as part of your Halloween decorating! Only requiring three supplies, this pillow is unbelievably easy to make and will have your space looking fa-boo-lous!

Read on below to learn how to make your own DIY Jack-O’-Lantern Pillow!
Here’s What You’ll Need:
- A jack-o’-lantern chair cover (I got mine from Dollar Tree!)
- Fiber fill (You can find some for a pretty good price at Walmart!)
- Velcro with sticky back (You can find some at Walmart!)

How to Make Your Jack-O’-Lantern Pillow:
The great thing about these Dollar Tree chair covers is that three of the sides are already finished, so you’ll only need to worry about the bottom of the cover. To prepare for making your jack-o’-lantern pillow, start by measuring out your Velcro along the bottom of the chair cover. You’ll need your Velcro to be the same length as the bottom edge. One you have the Velcro measured out, go ahead and cut it.
For this pillow, my mom opted to use Velcro so it was easy to work with (a tool like hot glue to seal the bottom edge may have melted the material) and you could remove your stuffing later and flatten out your chair cover (which means it could always be used as an actual chair cover later!). To make the project even easier, make sure to get the Velcro with the sticky back so all you have to do is peel the back off and stick it to the inside seam of your chair cover.
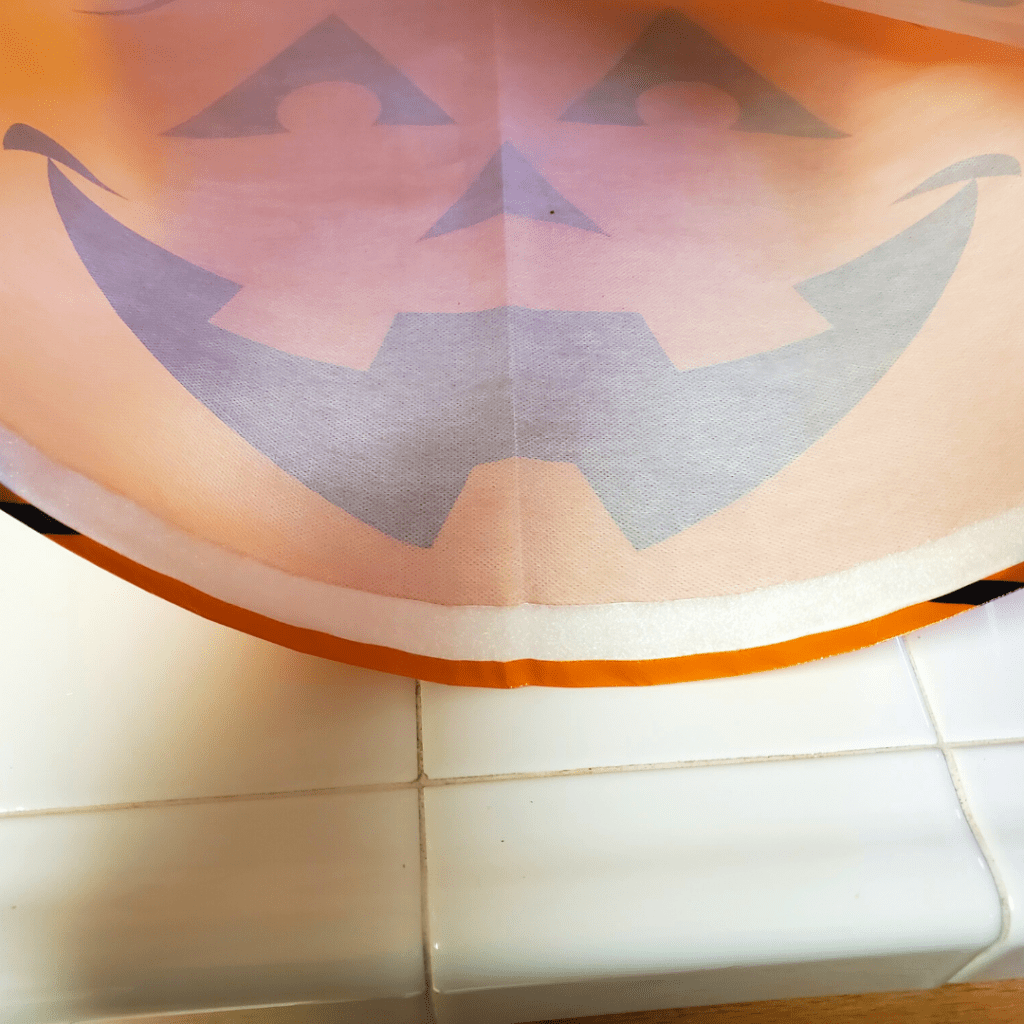
With your measured and pre-cut Velcro, open the chair cushion and stick your Velcro alongside the inside of the bottom seam. Attach the loop (or the soft side) to one side and the hook (the rough side) on the other.
Once you have the Velcro attached to the bottom, inside seam of the chair cushion, it’s time to stuff it. You can find some fiber stuffing for relatively cheap at stores like Walmart. If you want to try to cut costs down ever more, some crafters on the internet have said that they’ll buy inexpensive pillow inserts at Walmart and then will cut them open and take out the stuffing, so you can always try that out!

Fill your pillow pocket until it’s filled to your liking. We completely stuffed it until it was full and plump, making sure to fill those corners.

After your pillow is filled, close it by pressing the Velcro together.

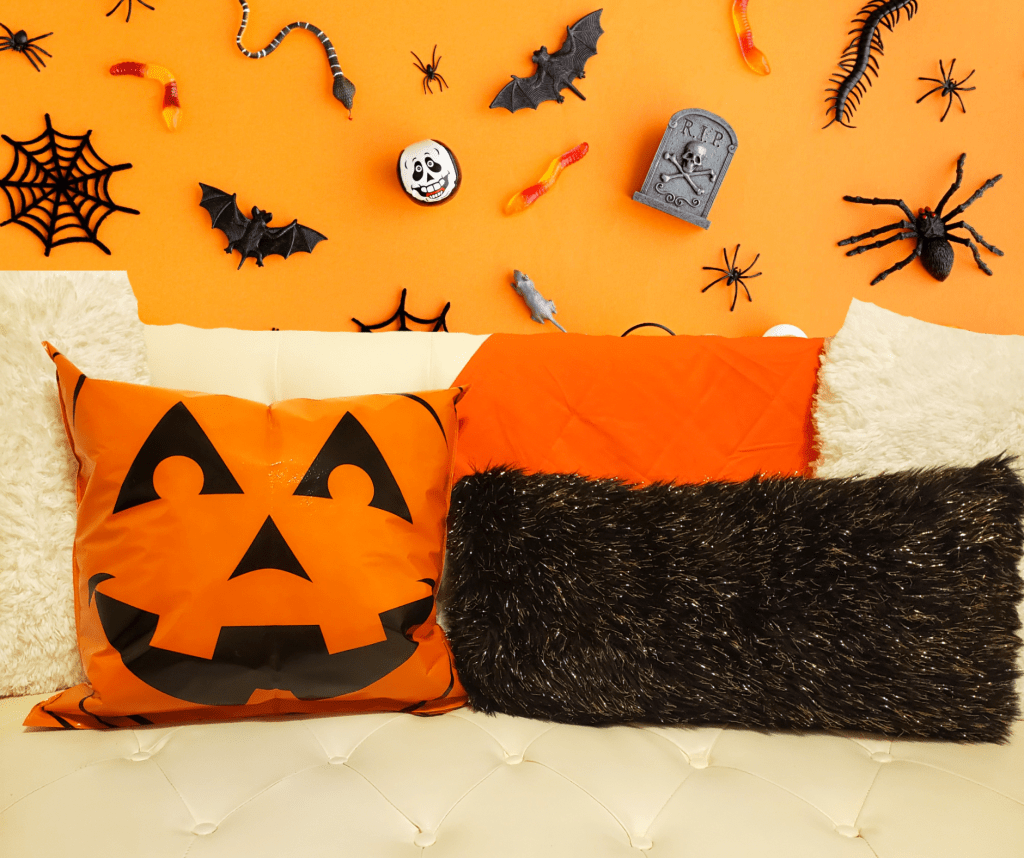
There you go! You now have a gourd-geous Jack-O’-Lantern Pillow that will look perfect on your sofa or chair!
What do you think of my mom’s fa-boo-lous creation? Let us know in the comments below! As always, you can check out the video tutorial for this DIY Jack-O’-Lantern Pillow on my TikTok!
Wishing you a (rather early but) spooktacular Halloween!
