
These decorative candlestick birdhouses are perfect for livening up your home for spring!
Spring is in the air! With heaps of sunshine, mild temperatures, and birds singing in the trees, spring is such a beautiful season. I always love being outdoors during the season to enjoy the blossoming flowers. Few sights inspire a more hopeful feeling than seeing the vividly colored blossoms and crisp green leaves start to reappear.
When thinking of how to decorate for spring, I drew some inspiration from nature’s reawakening and the cheering sounds of the birds in the trees and decided to create these adorable DIY Decorative Candlestick Birdhouses.

Only requiring some dollar store birdhouses and candlesticks and a few other crafting supplies, these birdhouses are very “cheep” (see what I did there??) to create but add such a sweet touch of the outdoors to the indoors! These birdhouses make for a great centerpiece for a spring tablescape, window sill decoration, or even a front porch decor.

Read on below to learn how to make your own DIY Decorative Candlestick Birdhouses!
Here’s What You’ll Need:
- Wooden birdhouses
- Candlesticks (I found these glass candlesticks at Dollar Tree!)
- Acrylic paint
- Martha Stewart Crafts® Multi-Surface Acrylic Paint in Wedding Cake
- Martha Stewart Crafts® Multi-Surface Acrylic Paint in Pistachio
- Martha Stewart Crafts® Multi-Surface Acrylic Paint in Hot Pink
- Martha Stewart Crafts® Multi-Surface Acrylic Paint in Lavender Fields
- Baking soda
- Paintbrushes / painter’s palette
- Hot glue
- Faux flowers / decorative accents

Here’s How to Make Your Own Decorative Candlestick Birdhouses:
For the base of the decorative birdhouses, I found some cute glass candlesticks at Dollar Tree and decided to paint them to create a more shabby chic look. Combining some white acrylic paint (a few tablespoons’ worth) and a small amount of baking soda (about 1/8 teaspoon), mix it together until the baking soda has dissolved into the paint. With the thickened paint mixture, paint all of the glass candlesticks.

You could also use some wooden candleholders and paint them with just the white paint, but these three glass candlesticks are certainly a great bargain if you’re looking for an inexpensive option.

Once the candlesticks are painted, allow them to rest until they are completely dry.
In the meantime, it’s time to paint your birdhouses! I found my three birdhouses at Dollar Tree as well, but you can certainly find an assortment of adorable wooden birdhouses at any craft store (I know Hobby Lobby has some cute ones!).
Get creative when painting your birdhouses and pick some paint colors that will complement your spring decor! For my candlestick birdhouses, I used green, purple, and pink paint that I had on hand (the colors are listed above!) which I thought would be fun for springtime. I painted the body of one house with the green paint, another with the purple, and the last one with the pink.

While letting the paint dry, go back and do a second coat on the candlesticks (if necessary) with the paint/baking soda mixture to ensure they have full coverage and allow them to dry once more.
With the houses now dry, you can paint the body of the house again if it needs more coverage (I painted mine twice and found the coverage to be perfect) and paint the roofline (and base of the birdhouses if they have a base like mine did). To accent the bold spring colors of the houses and to make it match the candlestick base so they appeared to be one, cohesive piece, I painted the roof and base of my birdhouses with the same white paint.

After all the houses and candlesticks are fully painted, allow them to dry completely before gluing them together.
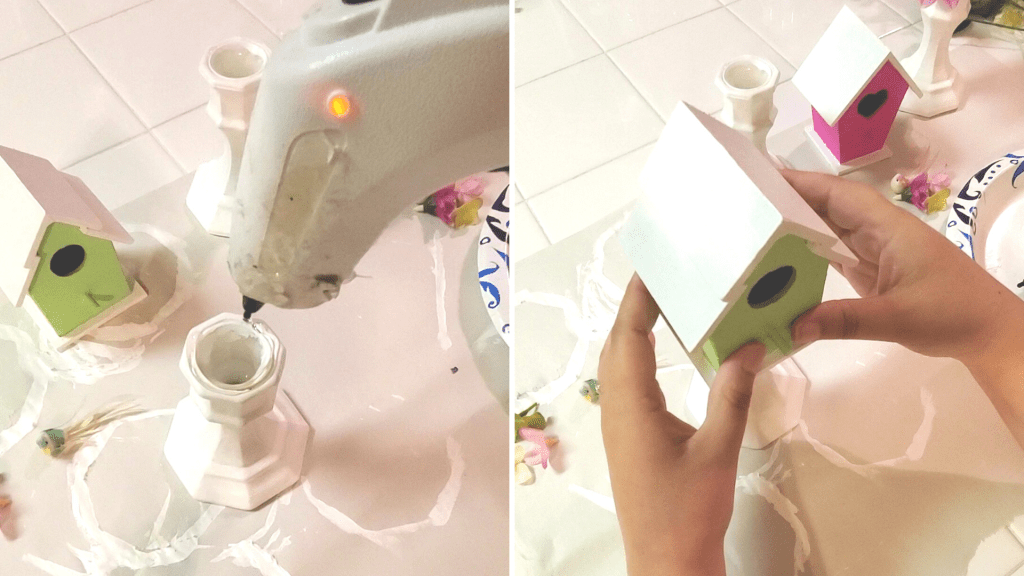
Once it’s time to glue, apply some hot glue to the top of a candlestick and carefully place one of the birdhouses on top and firmly hold it down until the glue sets. Glue the other two houses onto their candlestick bases.
Now comes the fun part—time to decorate!
To add some extra spring flair to my candlestick Birdhouses, I picked up some faux flowers from Dollar Tree and grabbed some small, decorative birds from my craft closet. Feel free to add any extra embellishments you’d like to bring some more personality to your candlestick birdhouses!
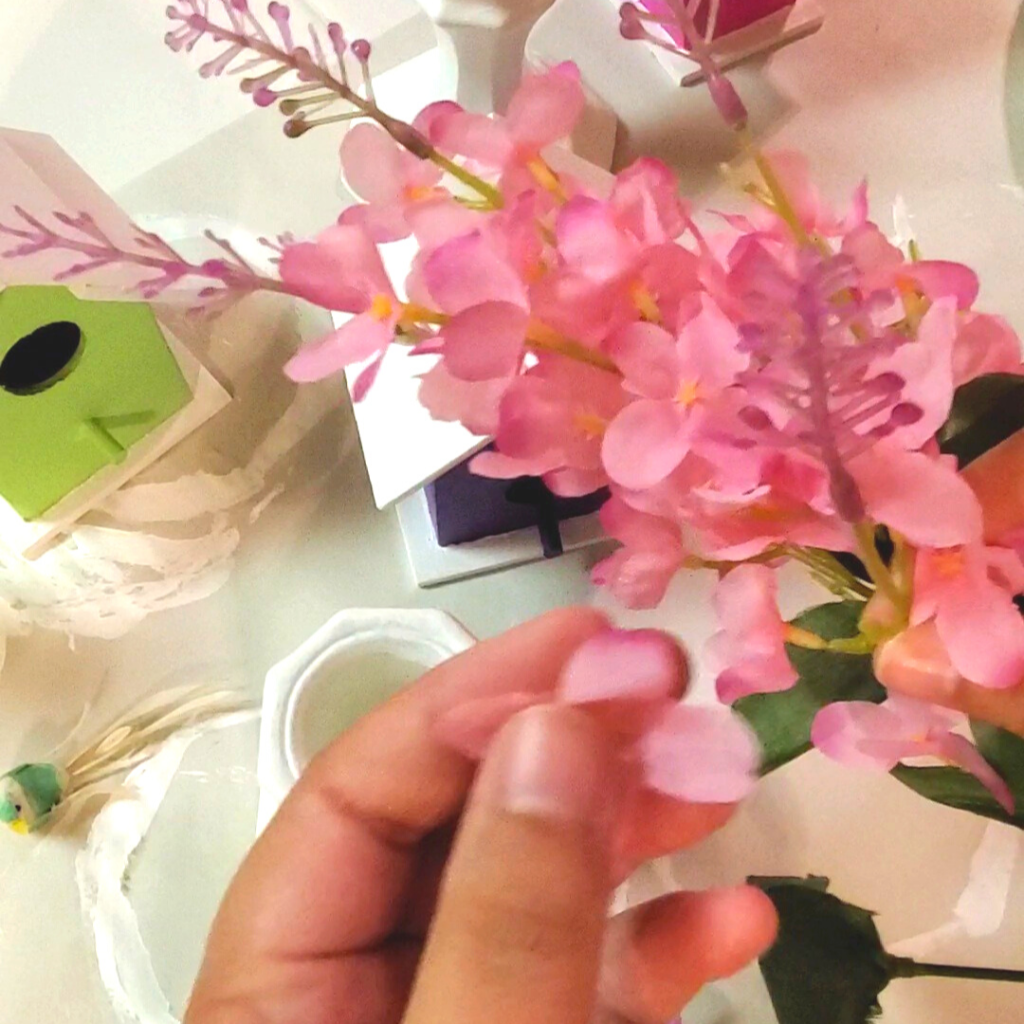
For my purple birdhouse, I hot glued flowers all along the base, and for the green and pink birdhouses, I built up some flowers on the side of the birdhouse and glued on a bird to the perch.

There you have it—the cutest decorative birdhouses for springtime!

Aren’t they so adorable?! I think they add the “tweet”-est touch for spring!

I hope you enjoyed these DIY Decorative Candlestick Birdhouses! Let me know what you think of them in the comments below! Would you make them for the spring season?
As always, you can check out the video tutorial for these DIY Decorative Candlestick Birdhouses (with commentary to walk you through every step) on my TikTok!
Before you go, make sure to save this post to your spring Pinterest board! (You can find the Pinterest button at the bottom of this article.)
I hope your spring is really “tweet”!
