
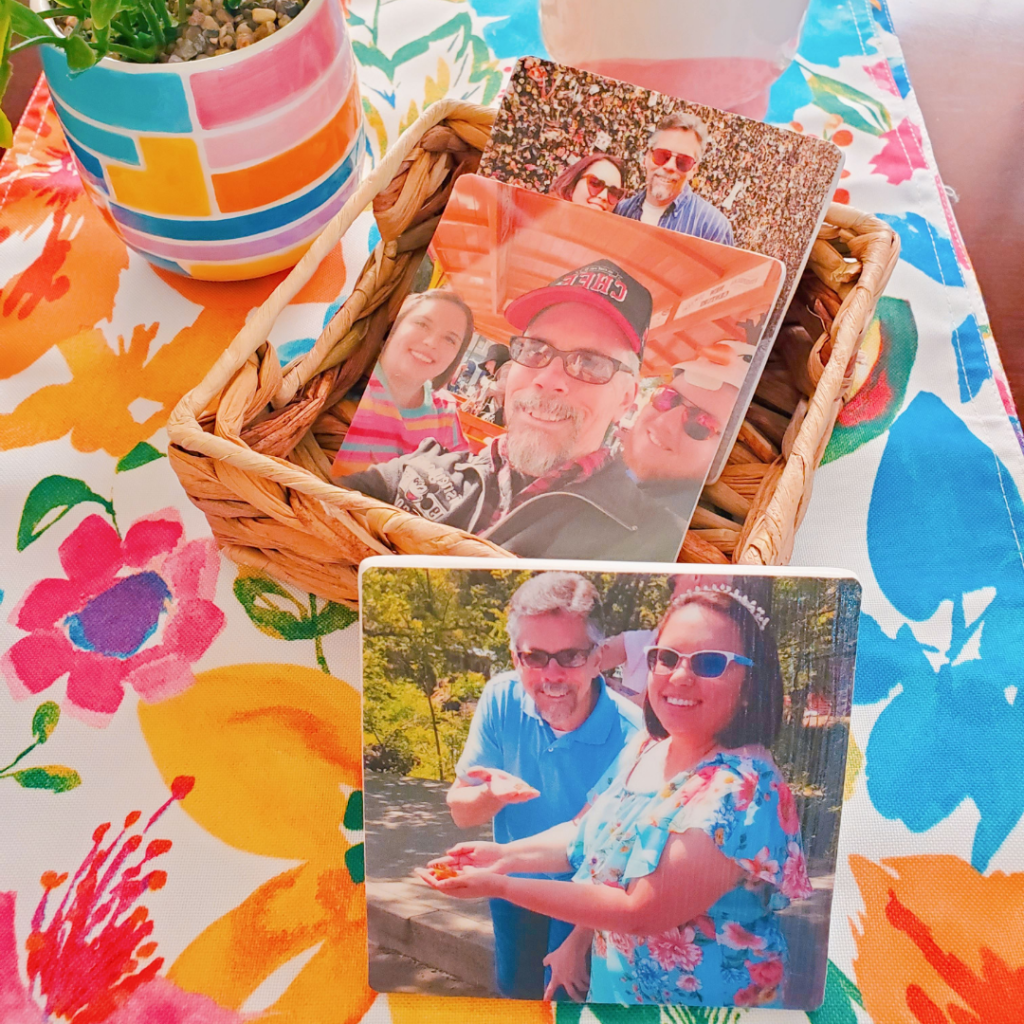
With some ceramic tiles and fun photos, you can decoupage these easy DIY Photo Coasters for Dad this Father’s Day!
Father’s Day is almost here! If you’re in need of a fun and unique gift idea for your dad or dad figure, you’ll love these DIY Photo Coasters! Whether your dad is a morning coffee drinker or likes to indulge in an adult beverage at the end of the day, these coasters are the perfect easy DIY gift for your dad.

These DIY Photo Coasters are inexpensive to make but will be priceless to your dad and may take him on a bit on an emotional ‘coaster with the thoughtfulness of this gift. From your favorite photos with your dad to his favorite sports team, these coasters are a great gift because you can easily personalize them to your dad. Honestly, they’d make a great gift for any time of the year, but he will surely love these.
Read on below to learn how to make your own DIY Photo Coasters!
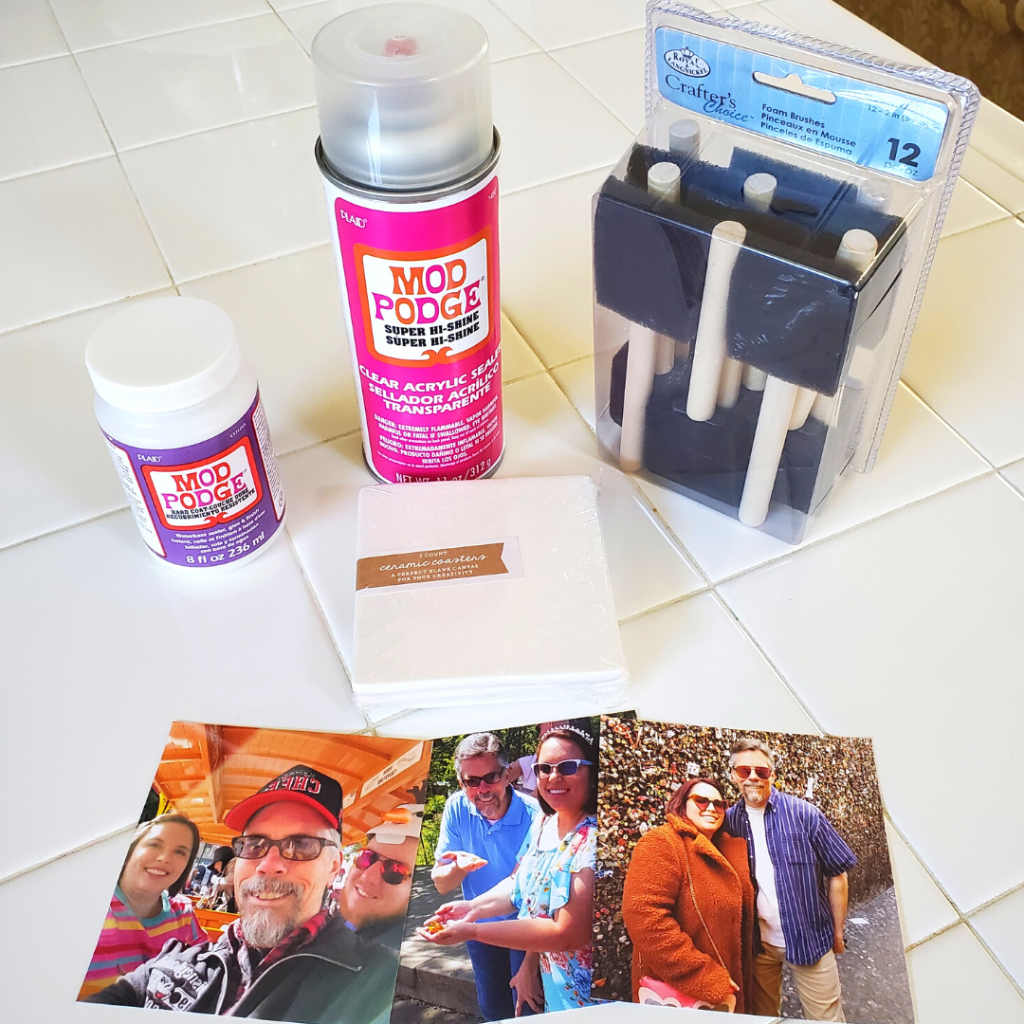
Here’s What You’ll Need:
- Ceramic coasters (or tiles from the hardware store)
- Mod Podge Hard Coat
- Mod Podge Clear Acrylic Sealer
- Foam brushes
- Scissors
- Photos (laserjet-printed)
- Crafting cork sheet (optional, but needed if using plain tiles from the hardware store)
Here’s How to Make Your DIY Photo Coasters:
The first thing you will need for your coasters is your pictures, of course! This is where you can get creative and choose which photos you’d like to include for your coasters. I chose some of my favorite photos of my dad and me, but you could also choose photos from your dad’s favorite sports team or even some photos related to a favorite hobby of his. The beauty is that, regardless of the photos, these coasters will be special to only him!
Once you have your photos selected, make sure to size them according to the dimensions of your coasters. The coasters I used (I found mine in the Target dollar section) were 4″x4″, so I resized them to a 4″x4″ photo. If you print out your photo as normal, you might end up having to cut most of your photo away to make it fit the coaster. Next, you’ll need to print them out. Printing them on regular printer paper will work best for the coasters since the paper is thin. Using actual photos might be too thick; plus, you should keep those! The most important thing is you’ll want to have them printed on a LaserJet printer. If you print out your photos with an InkJet printer, you can run the risk of your photos bleeding once you apply the Mod Podge. After you’ve printed your photos, cut them out.
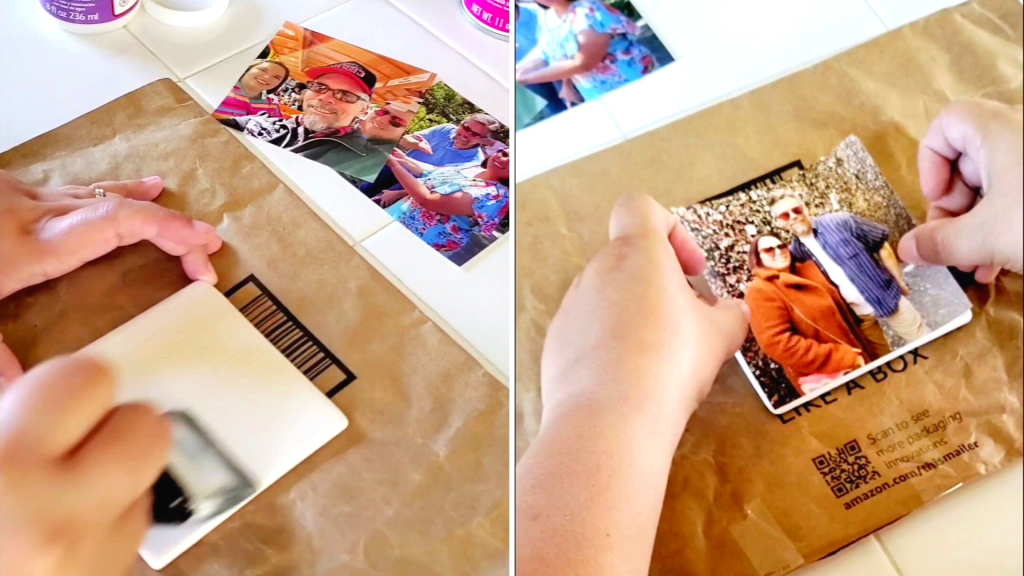
Now, it’s time to build the coasters! Again, I found my coasters at Target, but you could easily get plain white ceramic tiles from the hardware store (like Home Depot or Lowe’s) for about $1 each. Before gluing your photos to the coasters/tiles, make sure to clean the surface of the coaster first to remove any residue. Then, using a foam brush, apply a coat of Mod Podge Hard Coat to the tile.
Taking a photo, line up the photo to one edge of the tile and gently lay the photo down straight onto the tile. Once the photo is placed how you’d like it, press down on the photo so it sticks to the coaster. Do the same for all the other coasters you are making, then let them sit to dry for at least 20 minutes.

Before applying any more Mod Podge, take your scissors and trim the edges of the photos so they are flush with the coasters and don’t have any edges hanging over.
Now, begin applying your top coats. With a foam brush, apply another coat of Mod Podge over the top of the photo, applying the coat in long strokes from top to bottom (or bottom to top). This will prevent any smudge marks from the Mod Podge. Then, allow the coaster to dry for at least 20 minutes.

Continue this process until you have completed five coats on top of each coaster. At this point, let the coasters rest overnight to set. After this, your coasters are complete.
However, if you’d like to protect your coasters a bit more from condensation or other marks caused by holding beverages, take Mod Podge Clear Acrylic Sealer and spray a coat over the top of each coaster. Allow the coasters to dry for 24 hours before use.

If you used tiles from the hardware store, this is where some crafting cork sheets will come in handy. Since the back of the tiles are rather rough for a tabletop, cut out a piece of cork to either cover the entire back of the coaster or make four small squares or circles to place in each corner on the backside of the tile. This will prevent the coasters from scratching any table surfaces. Luckily, the white ceramic coasters I found already had the feet on the backside. Simply glue the cork on with hot glue or a strong crafting glue and allow them to dry completely.

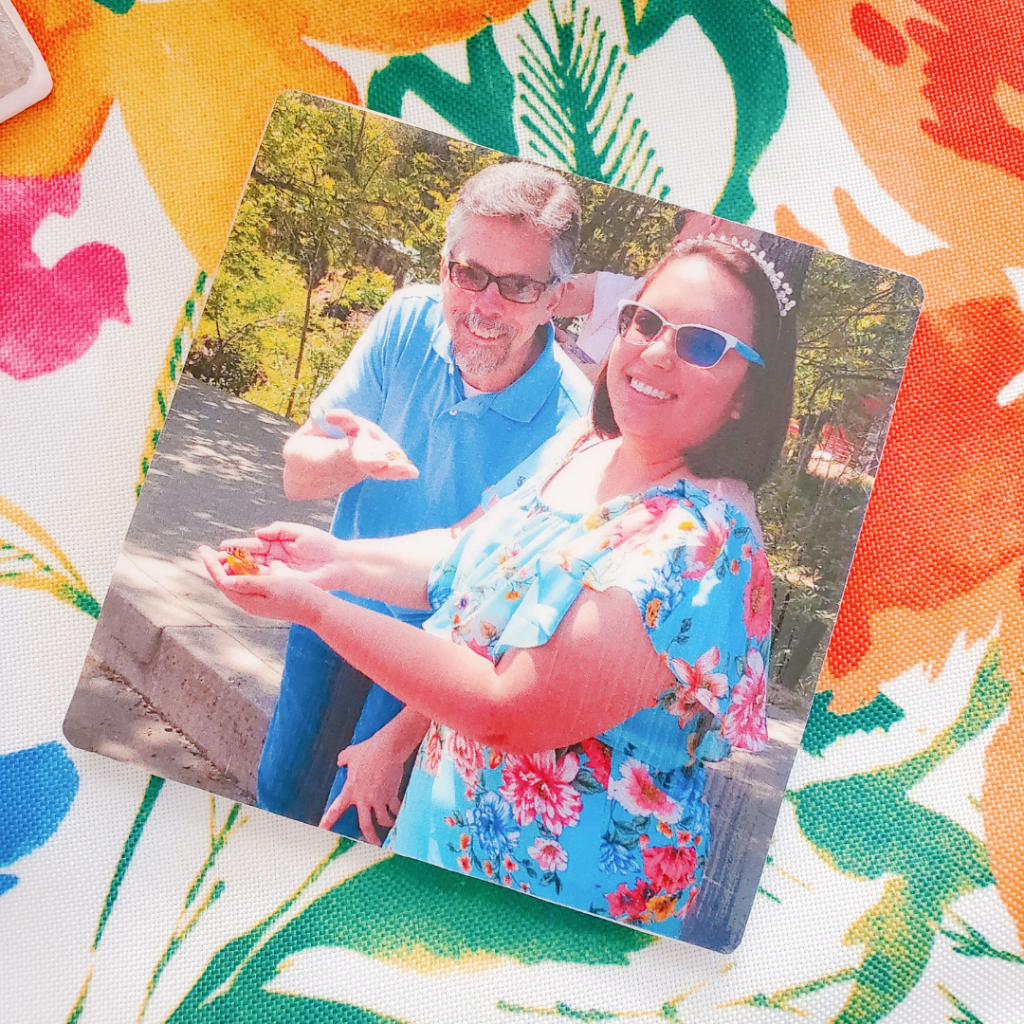
That’s it! Wrap up your coasters (I used this cute little basket from Target along with some ribbon in my dad’s favorite color) and surprise your dad!
Aren’t these so fun for Father’s Day?! Now your dad can enjoy his favorite beverage with some unique coasters made just for him!
I hope you try out this craft for your dad! If you create some, make sure to post them on social media and use the hashtag #wearecolorventurers so I can see them!
As always, you can find the video tutorial for these DIY Photo Coasters on my TikTok!
Before you go, make sure to save this post to your Pinterest board! (You can find the Pinterest button at the bottom of this article.)
Have a wonderful Father’s Day with your dad!
